ImageGear Professional for Windows ActiveX
Preparing the Development Environment

| ImageGear Professional v18.2 > User Guide > Getting Started > MS Visual Studio .NET 2003 C# Application > Preparing the Development Environment |

 |
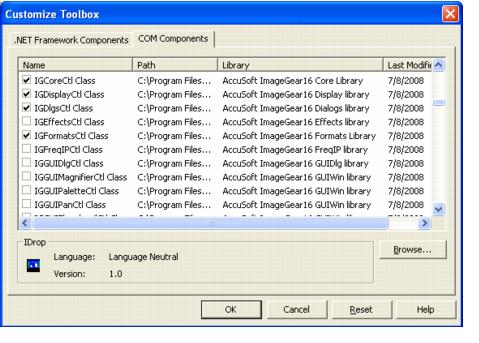
If you do not see a required control in the list, you may need to install the ImageGear ActiveX product. If you selected to install this product on first use, simply run one of the ImageGear ActiveX samples. To do this, click Start/ Programs/Accusoft/ImageGear v18/Version/ActiveX/Samples (where Version is the edition of ImageGear [Professional, Enterprise or MD] being used) to locate the samples. Launching an ImageGear sample program will automatically cause the ActiveX product to be downloaded and installed on your machine. |

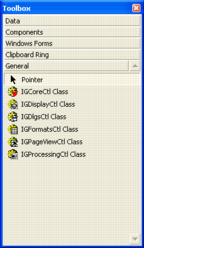
Once you click OK, the icon for the ImageGear control appears in the control toolbar:
