Clips are used primarily for passing field images to additional processing engines. For example, you could pass the field image to an OCR engine to process German text.
Add Clip Fields
To add a clip field in a form template, select the Clip Tool button by clicking on it in the toolbar or pressing "Ctrl+Shift+C" (step 2 in the topic Steps to Define, Create and Modify Form Fields). The clip field can then be defined by selecting the corner of the field on the form image with your mouse and drag to the diagonal corner similar to any other field type. The defined field will highlight in yellow.
Once the form set is saved and forms processing is initiated, this field will be clipped out. It will be displayed when Process Forms is done, and may be saved using the Save Clip As icon on the Field Results tab of the Process Forms dialog.
Set Clip Field Settings
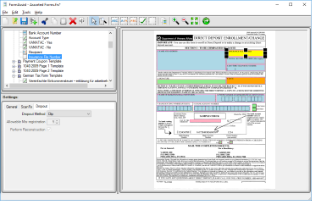
FormAssist window with Dropout tab open and a clip field highlighted
The image above displays an example Clip field highlighted on both the Tree and Image Views of the FormAssist window.
-
The Tree View displays the name and icon
-
The Image View outlines the area currently selected.
-
The Properties View displays all the Clip Field Properties.
The tabs of the Properties View in Settings are:
| Tab |
Description |
| General |
This tab contains the field area coordinates which can be modified by either dragging the outlined field in the Image View or by modifying its values in the Tree View. |
| ScanFix Xpress |
The ScanFix Xpress settings are recommended as they improve the image, allowing the external engines to process the contents of the field, rather than the irrelevant marks on the original form image. See the ScanFix Xpress Properties topic for more details. |
| Dropout |
This tab allows you to choose how the field image is created. See the Dropout properties topic for more information. |
See Also