'DeclarationPublic Function AnalyzeField( _ ByVal formImage As FormImage _ ) As OmrFieldResult
'UsageDim instance As OmrProcessor Dim formImage As FormImage Dim value As OmrFieldResult value = instance.AnalyzeField(formImage)
public OmrFieldResult AnalyzeField(
   FormImage formImage
)
public:
OmrFieldResult^ AnalyzeField(
   FormImage^ formImage
)
Parameters
- formImage
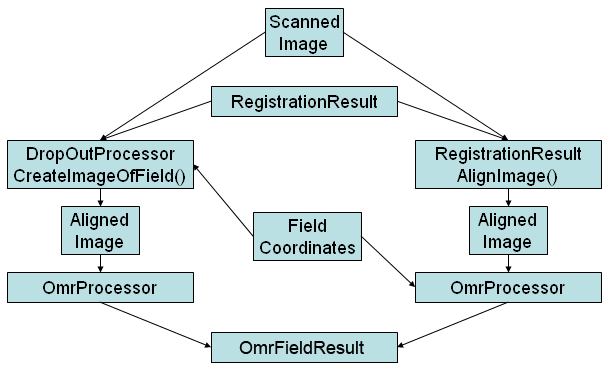
- The registered and aligned image that you want this method to perform OMR analysis on.
Return Value
An OmrFieldResult object with analysis results information.