To install PrizmDoc Server on your own server, follow these steps:
PrizmDoc requires a clean installation when migrating from a version earlier than v12.0. You must first uninstall any previous versions of PrizmDoc and reboot your system. Only then should you install PrizmDoc v12.0 or later. Make sure you back up your configuration files before uninstalling any previous versions of PrizmDoc. Once you have installed v12.0, you do not need to uninstall if you want to migrate to v12.1 or later.
Before downloading and installing PrizmDoc, you must activate ASP.NET and IIS on your system in order to view the samples.
- Download PrizmDoc Server from the website.
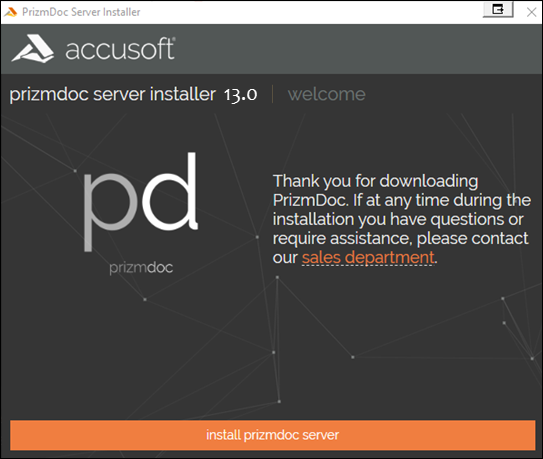
- Double-click on the PrizmDocServer-Xx application file to launch the installer (where Xx represent the version). Click install prizmdoc server:
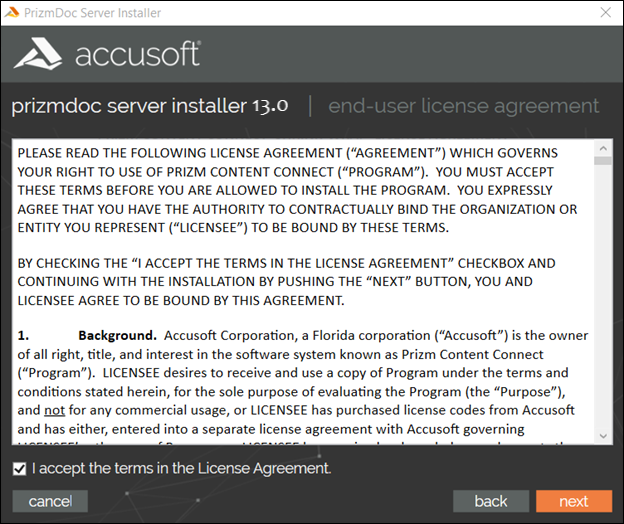
- Carefully read the information contained in the License Agreement form before making a decision to accept the terms of the agreement. Choose I accept the terms in the License Agreement to accept the conditions outlined in the License Agreement and then click the Next button to continue the installation (or click Cancel to exit the installation process):
- If your machine does not meet the PrizmDoc Server minimum system requirements, a dialog displays indicating the requirements that are not met:
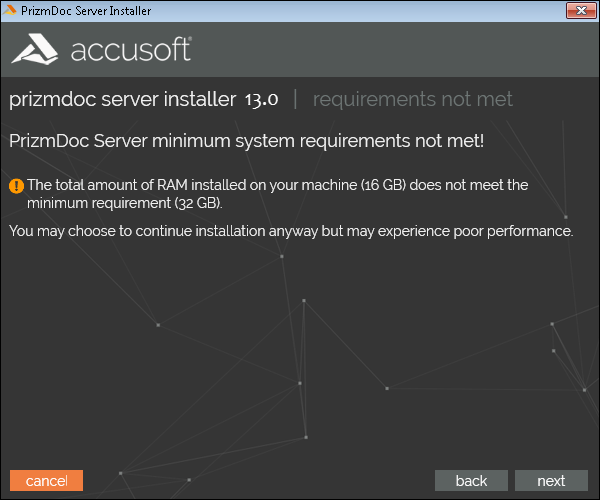
You may choose to continue installation, but may experience poor performance.
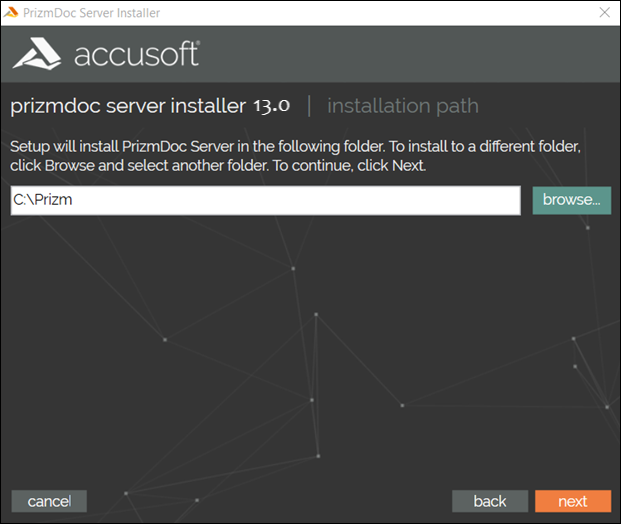
- The Installation Path dialog is displayed. Specify the destination directory where the PrizmDoc product should be installed or choose the default installation destination directory. Then click Next:
- Specify the login account (account name and password) that PrizmDoc Server will run under. (If you are using the Microsoft Office Conversion (MSO) add-on, please make sure that the "login account" is a real user account with Administrator rights. Running PrizmDoc under the LocalSystem user or another Microsoft Windows integrated service account is not supported for this option):
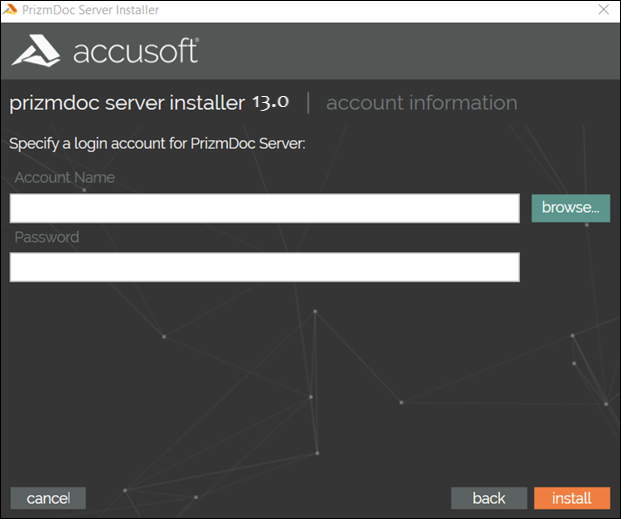
- Click Install to continue. The Installation dialog is displayed with a progress bar:
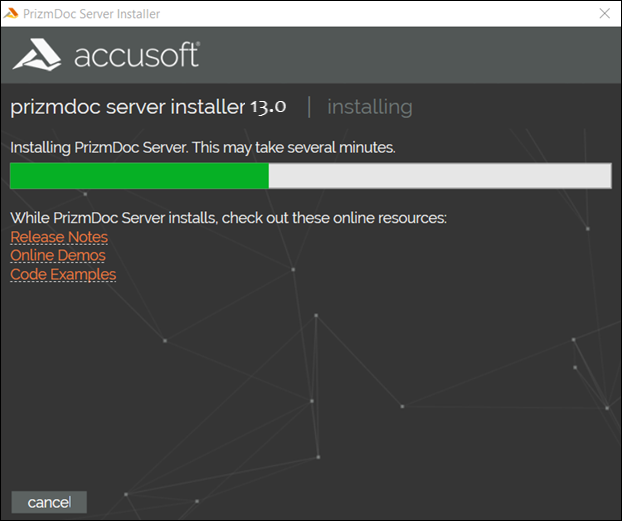
While PrizmDoc Server is installing, you can click on the links to review the Release Notes, Online Demos or Code Examples.
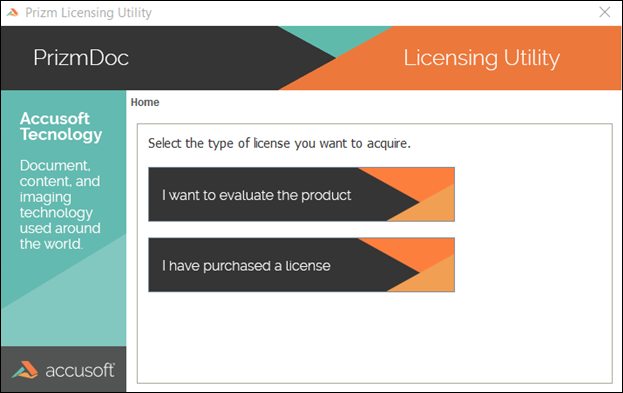
- Part way through the installation, the installer will launch the PrizmDoc Licensing Utility. Select the I want to evaluate the product button:
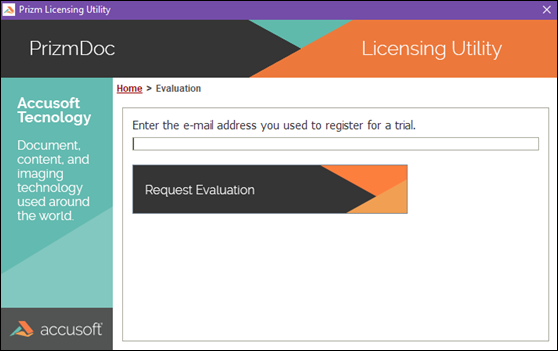
- The Evaluation dialog is displayed. Enter your email address that you registered in the Customer Portal for your evaluation and click Request Evaluation:
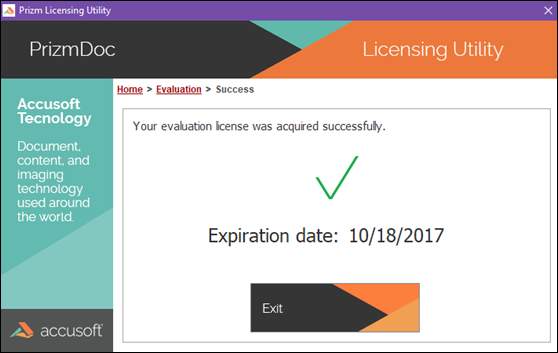
- The Evaluation Success dialog is displayed. Click Exit to return to the installation process:
- After the PrizmDoc Licensing Utility completes, the installer will continue setting up your system with PrizmDoc Server. Once the configuration is complete, the Installation Complete dialog is displayed:
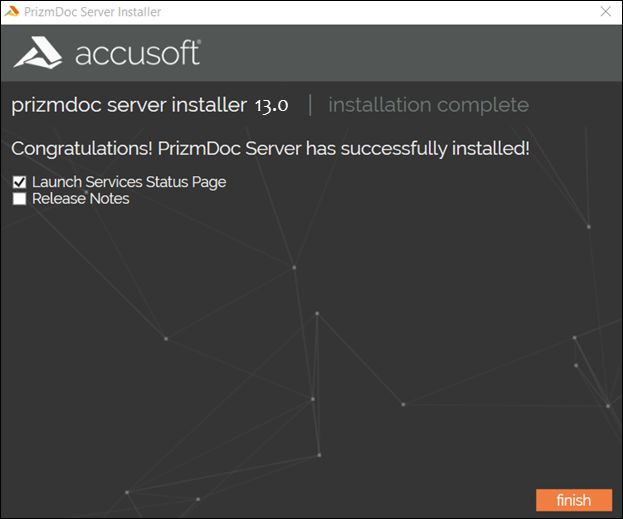
- There will be an option to launch PrizmDoc Server Status Page and product Release Notes if you wish to view them directly after the installation. Click Finish to exit the Installer. If you selected the Restart Now checkbox, your system will restart. If you selected the option to launch the PrizmDoc Server Status Page, you will see it displayed as shown in the topic: Checking PrizmDoc Server Health.
For a production installation of PrizmDoc on Windows, you can improve your performance by enabling Gzip compression.
- Note that Steps 14-17 below are required if you purchased PrizmDoc with the Microsoft Office Conversion service. If you did not purchase PrizmDoc with the Microsoft Office Conversion service, then your installation is complete.
- The Microsoft Office Conversion Service, that is bundled with PrizmDoc, requires a Windows Registry modification in order to work properly, such as:
Registry Key: HKEY_LOCAL_MACHINE\SYSTEM\CurrentControlSet\Control\Session Manager\SubSystems
Value: Windows
That value is a complex, space separated set of system-wide settings. One of them is a "SharedSection" comma-separated sub-value with 3 values. Below is a default value for Windows 2008/2012 x64 systems:
SharedSection=1024,20480,768
The third value is a non-interactive desktop heap size in kilobytes. The installer will increase it (if there is a default value) in order to run MS Office in non-interactive mode properly.
- A system reboot will be required in order for the change to have effect.
- Due to a known issue with the installer, it might not ask for a reboot after the installation, so please make sure to reboot the system manually. This issue will be addressed in the future release.
- If the non-interactive desktop heap size is not the default and meets PrizmDoc requirements, it won't be modified, and the system reboot won't be required. You can check installer's logs to see whether a system reboot was scheduled.
Upon an un-installation of the product, the original non-interactive desktop heap size will be restored, and a system reboot would be required again.
- The Microsoft Office Conversion Service requires the Microsoft XPS Document Writer printer driver to be installed for the best conversion performance and rendering fidelity of MS Excel documents. The PrizmDoc’s installation process sets the Microsoft XPS Document Writer to be the default printer driver on the system. Note that if you need to re-install Microsoft XPS Document Writer, follow the steps in the Microsoft XPS Document section below.
- Specifically for Windows Server systems, it is important to note that the Microsoft PowerPoint rendering support within Microsoft Office requires you to enable the "Ink and Handwriting Services" desktop experience feature from the Server Manager.
The installed copy of Microsoft Office must be activated in order for PrizmDoc's Microsoft Office Conversion Service to work properly. Not licensed, not activated, an expired or trial version of Microsoft Office will not work with PrizmDoc.
If you are running PrizmDoc in cluster mode, all servers in the Windows MSO cluster must use the same version of Microsoft Office.
- It is important to block specific Windows firewall ports to prevent SMB traffic from leaving the configured Windows instance. The following outbound ports should be blocked: TCP: 137, 138, 139, 445 and UDP: 137, 138. Please refer to the Microsoft guidelines for blocking specific firewall ports to prevent SMB traffic.
Microsoft XPS Document Writer
Please note that Microsoft XPS Document Writer comes pre-installed on most Windows systems. However, if the Microsoft XPS Document Writer is not installed on your system, or in case it was previously removed, it must be installed back on the system using the following steps:
-
Click Start and select Devices and Printers.
-
Click Add Printer.
-
Choose Add a Local Printer.
-
Select Use an Existing Port.
-
Select XPS Port and click Next.
-
In the manufacturer list, choose Microsoft.
-
On the right side, choose the latest version of the XPS document writer and click Next.
-
Choose "Use the driver that is currently installed", click Next.
-
Select the option "Do Not Share Printer", then click Next.
-
Check the box for "Set as the default printer", then click Finish.
If the XPS Port is not available, perform the following steps:
-
Click Add a Printer.
-
Choose Add a Local Printer.
-
Select Create a New Port.
-
Select Local Port, then click Next.
-
In the "Enter a Port Name" field, type in XPS Port, then click OK.
-
In the Manufacturer list, choose Microsoft.
-
On the right side, choose the latest version of the XPS Document Writer, then click Next.
-
Choose "Use the driver that is currently installed", click Next.
-
Printer name should be Microsoft XPS Document Writer, then click Next.
-
Select the option "Do Not Share Printer", then click Next.
-
Check the box for "Set as the default printer", then click Finish.
In order to achieve the best performance and fidelity, and avoid potential rendering issues with MS Excel documents, it is important to make sure the Microsoft XPS Document Writer is configured as the default printer for the user which is configured to run the PrizmDoc service.


