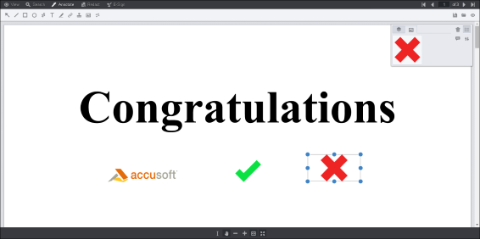
Image Stamps are available under the Annotate menu. You can select a custom image and place it anywhere on your document. The following example shows Image Stamp Annotations displayed in the Viewer:
To Add an Image Stamp Annotation to Your Document
Image stamp file size needs to be appropriate for the end users web browser and network capabilities. Also, IE8 can handle a maximum image stamp file size of 32KB.
- Select the Image Stamp annotation:

The Image Stamp annotation context menu displays on the right-hand side of the Viewer:
- Draw the image stamp on the document. The floating Context menu displays next to the image stamp:

You can Add Comment, Select the image stamp, or Cancel. You can also select the image and move it anywhere you want on the document.
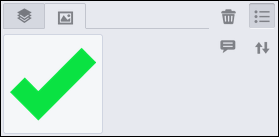
- From the Context menu, you can adjust the layer placement, add a comment or delete the image:
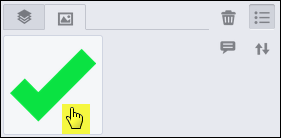
- To choose a different image stamp, click on the image in the Context menu:
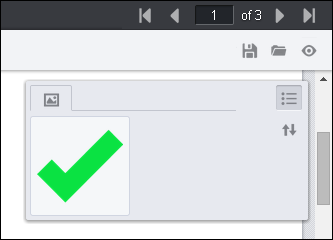
- The Select an Image Stamp dialog box displays:
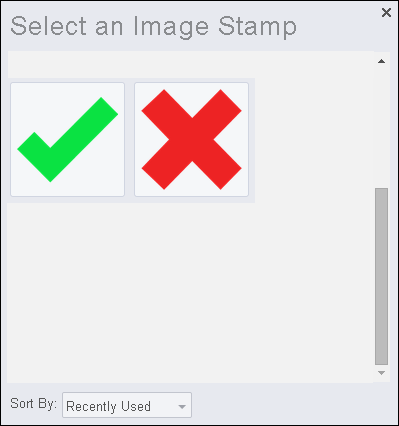
- Click on the image you want to use and the new image is placed on the document.