PrizmDoc v13.0 - Updated
E-Sign Tab
This topic contains the following information:
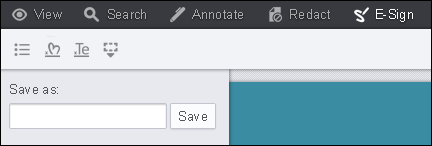
The E-Sign tab contains components that allow you to electronically sign a document.

The E-Sign tab displays the Manage E-Signatures, Create Freehand Signature, Create Text Signature, Place E-Signature, and Place Date icons:

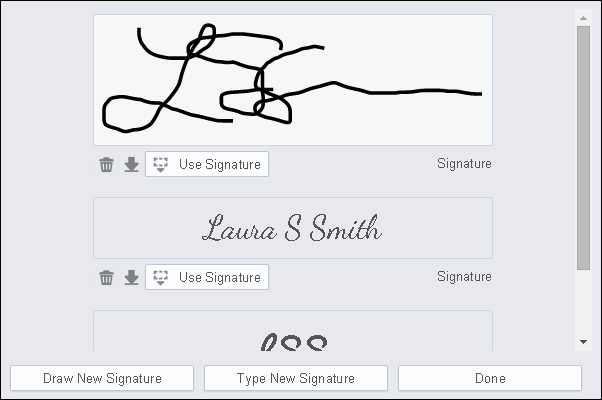
You can create the following e-signatures:
The following example shows the e-signatures displayed in the Viewer:

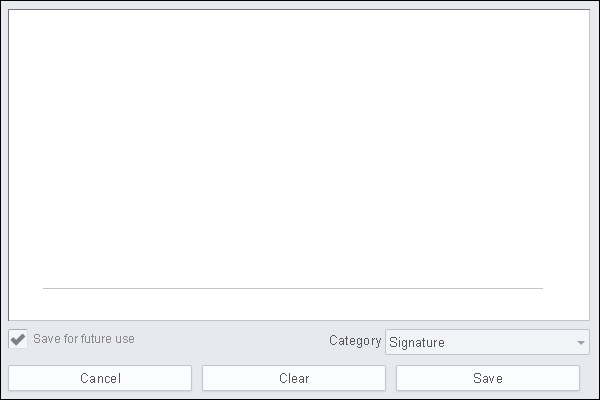
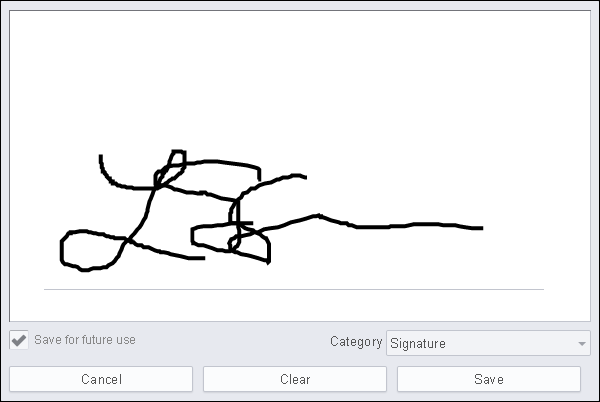
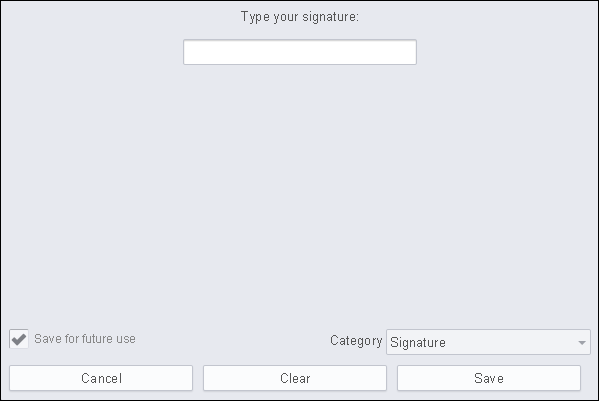
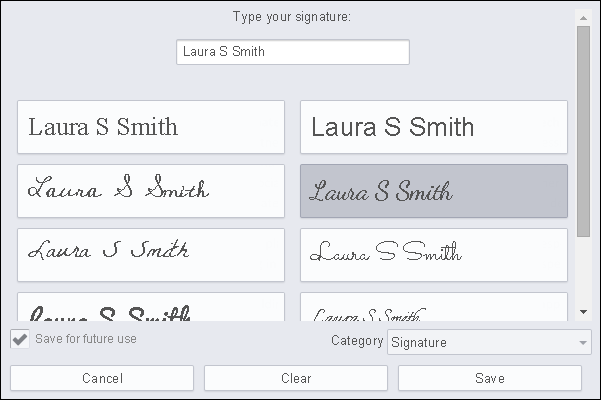
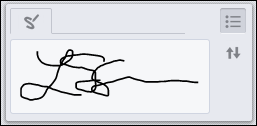
The following section covers how to create freehand and text signatures.
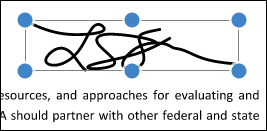
If you have more than one signature on the document, click on the signature and the yellow guide markers appear so you can see which signature is active.
When in Horizontal Layout Mode, comments are not supported in the Viewer.If you want to delete the signature, click on the Trash can icon.
The signature categories are a configuration option for the jQuery plugin. In the jQuery.fn namespace, there is a property called signatureCategories. The default samples have this set to "Signature,Initials,Title", but if you want to change it or add your own types, you can edit the initialization parameter. When this parameter is set, there will be a dropdown to select the category (when creating a new Freehand or Text signature). This dropdown will not be present if the signatureCategories parameter is not set.
Signatures are persisted in the browser’s Local Storage so an end user can use the same signatures to sign across multiple documents and multiple sessions within the same browser. All signatures are stored in a JSON format under the storage key "pccvSignatures".
This storage method is a convenient way for end users to reuse previously created signatures, and is protected at the website domain level by the browser. However, this method may not be suitable for all business needs. The saving process is done inside viewer.js, in the E-Signature module, and can be overloaded, modified, or removed to match your business needs and criteria.
The Viewer expects signatures to be available in a collection object at PCCViewer.Signatures. Managing this collection is implemented as a module in the viewer.js file. See Modifying viewer.js for more information.
End users are also able to save their individual signatures for their own record using the "Download Signature" button under the Manage E-Signatures menu. This will download a plain-text JSON file of the selected signature.