PrizmDoc v12.2 - March 9, 2017
Windows Installation
| Getting Started with PrizmDoc > Installation > Cloud-Hosted > Installing on Windows > Windows Installation |
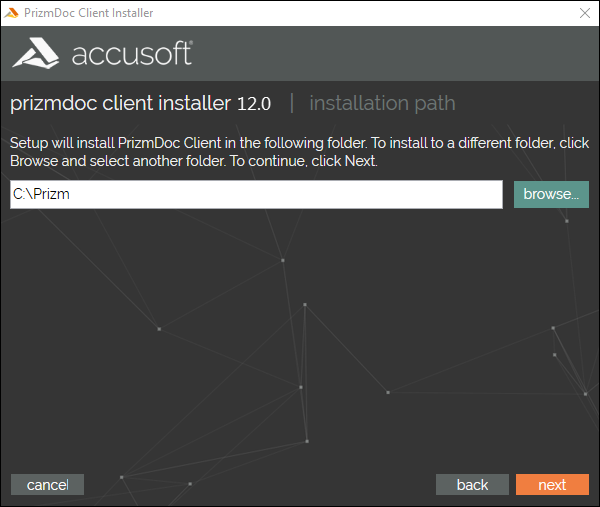
To install the PrizmDoc Viewing Client using a Cloud-Hosted PrizmDoc Server, follow these steps:
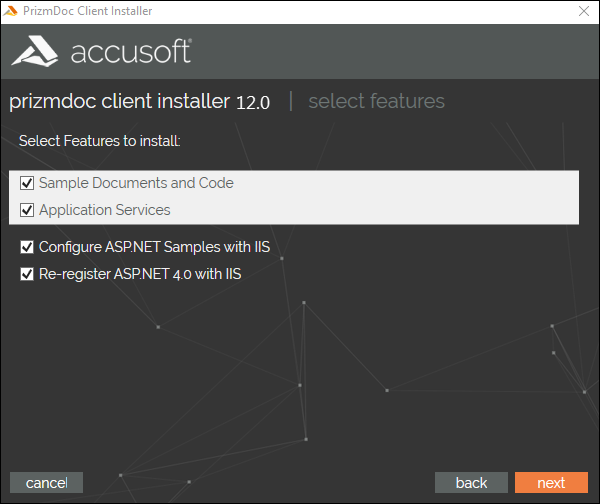
The Select Features dialog allows you to define what components of PrizmDoc you want to install:
- Sample Documents and Code – Installs the different client viewers that can be used with the PrizmDoc services and sample documents.
- Application Services - Installs the service that provides application-level logic for the Viewing Client, such as enabling document viewing through the PrizmDoc Server, saving and loading of markup, and handling opening of documents and creating viewing sessions.
Additional Options:
- Configure ASP.NET Samples with IIS.
- Re-register ASP.net 4.0 with IIS.
These options are only available if both IIS and ASP.NET 4.0+ are present. Once you have made your selections, click Next to continue.
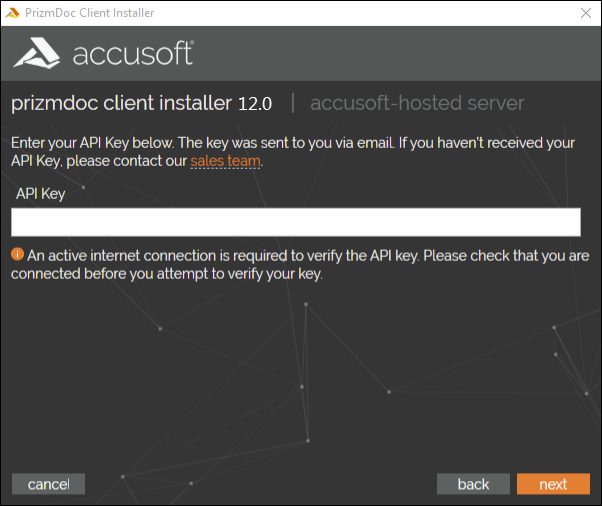
You will need an active internet connection on the machine you are installing the PrizmDoc Viewing Client in order to validate your API key.
You will not see this screen if you are not installing the Application Services at this time. Additional installation and configuration may be required:
- You may need to configure one of the Viewing Client samples to use an existing installation of the Application Services.
- You may need to install and configure the Application Services with your API key to connect to the Cloud-Hosted PrizmDoc Server. See the Application Services Configuration topic for more information.
Enter your API key into the text field provided. Click Next to verify your API key and continue the installation:
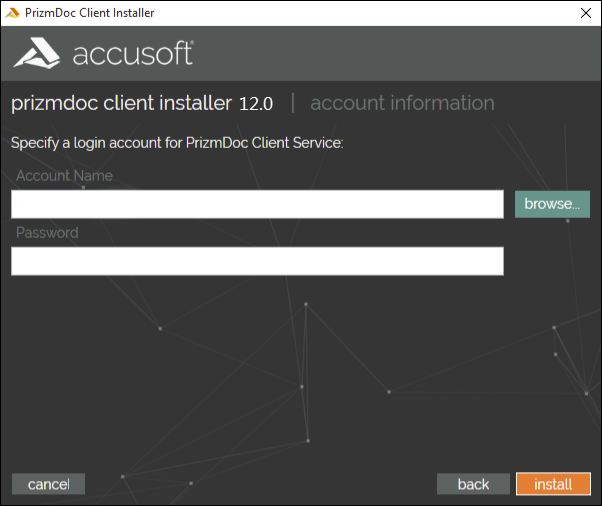
During installation, when specifying a login account for PrizmDoc Application Services, you MUST choose a user which has administrative privileges. Otherwise, the installation will fail.
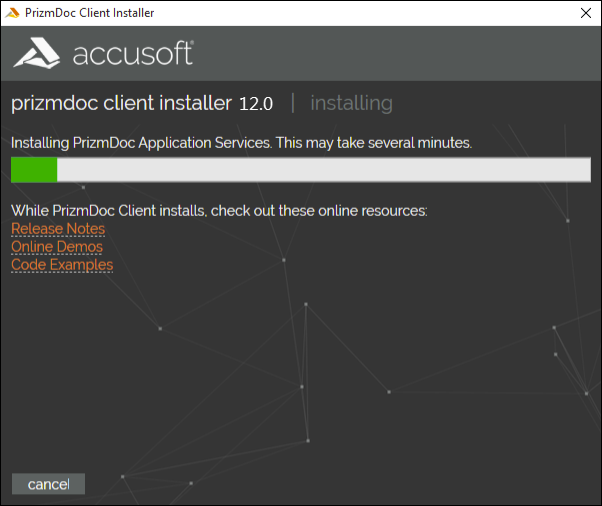
The Installer will unpack the product, and lay out and configure the product as defined in the configuration dialogs. While PrizmDoc is installing, you can look at the Release Notes, Online Demos, or Code Examples from the links provided.
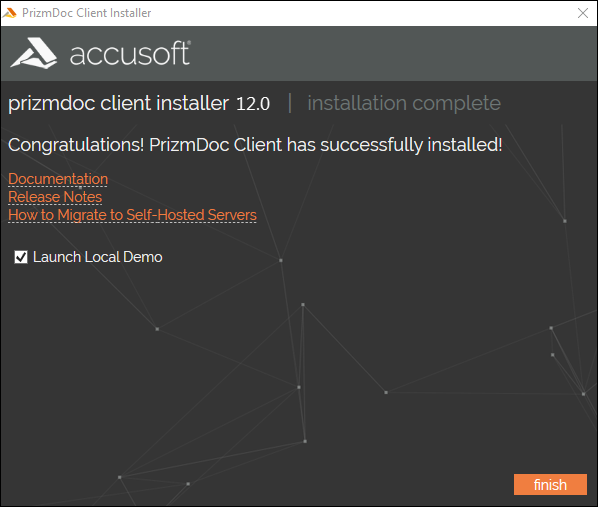
There are links to the Documentation, product Release Notes, as well as a How to Migrate topic if you wish to view them directly after the installation. There will also be an option to launch the locally installed demo in your default browser.
The option to launch the local demo is only available if all of the following occurred:
- Sample Documents and Code were installed.
- The Samples were configured and re-registered with IIS.
- The PrizmDoc Application Services were installed.