- Make sure you have the Silverlight tools for Visual Studio installed, and then start Visual Studio.
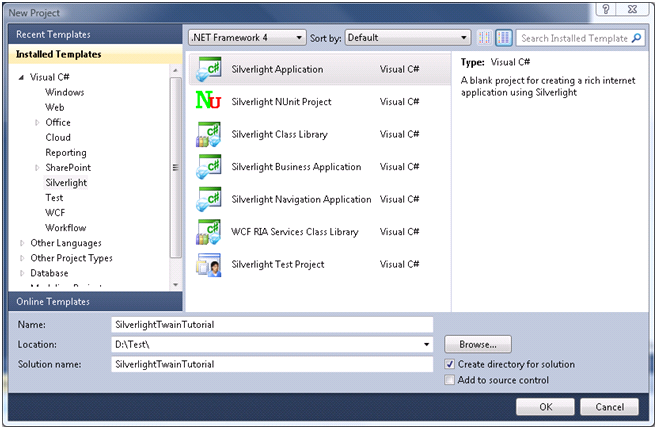
- Choose to start a new project and select project types of Visual C#\Silverlight. Then choose Silverlight Application from the list of Templates. Check the box for Create directory for solution, as the tutorial will include 2 projects. Specify a location to save the project and click OK.
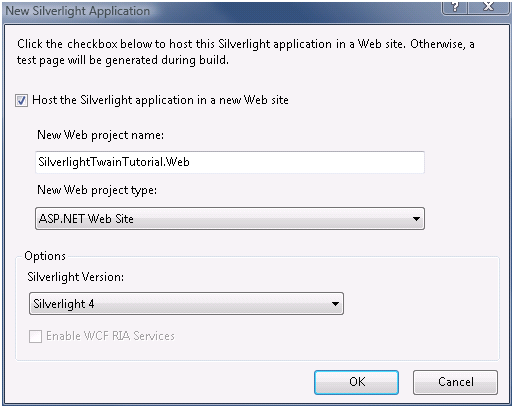
- Choose to 'Add a new ASP.NET Web project to the solution to host Silverlight' with a 'Project Type' of 'ASP.NET Web Site', and then click OK.
- Next we need to add references to the ImageGear for Silverlight assemblies.
- In the Solution Explorer, expand the node for the SilverlightTwainTutorial project, then right-click on References and choose 'Add Reference' from the popup.
- In the Add Reference dialog, select the browse tab.
- Browse to the Bin sub directory of the ImageGear for Silverlight installation directory and choose the following files:
- ImageGear20.Core.dll
- ImageGear20.Formats.Common.dll
- ImageGear20.Windows.Controls.dll
- ImageGear20.TWAIN.dll

- Then click OK.
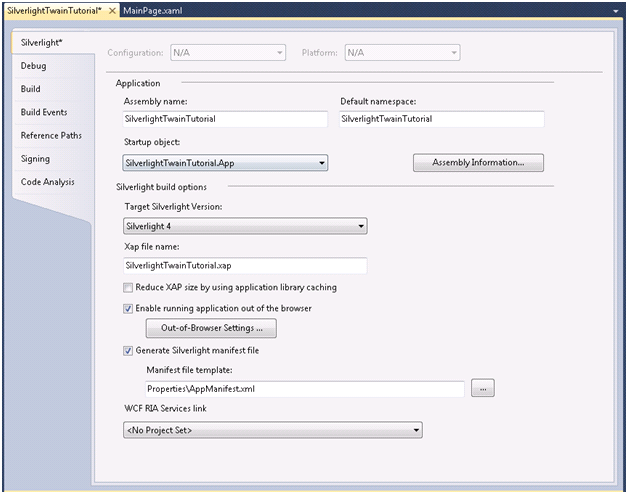
- Next we have to enable running the application out of the browser. Right click on the Silverlight project node in the Solution Explorer. From the context menu, select 'Properties'. In the properties dialog, select the 'Silverlight' tab. Check the box labeled "Enable running application out of the browser".
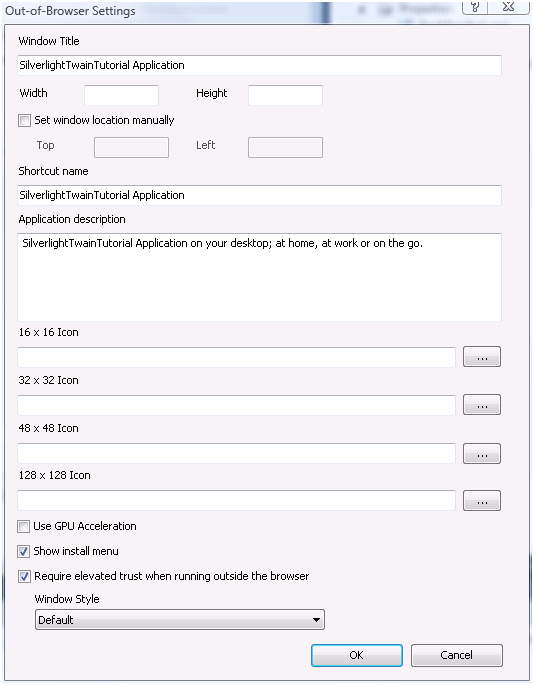
- Now we require that the application run with elevated permissions when running outside the browser. Continuing from the previous step, immediately below the checkbox labeled "Enable running application out of the browser", click the button "Out-of-Browser Settings". In the Out-of-Browser Settings dialog, check the box labeled "Require elevated trust when running outside the browser". Then click "OK", and then choose "File > Save All".