- Make sure you have the Silverlight tools for Visual Studio installed, then start Visual Studio.
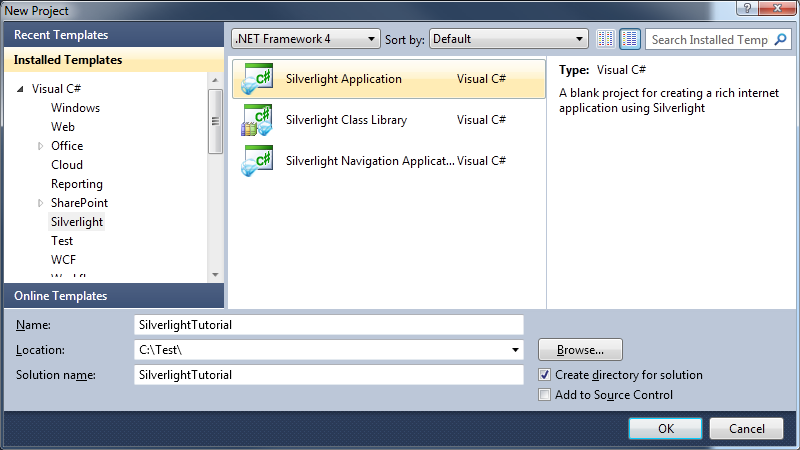
- Choose to start a new project and select project types of Visual C#\Silverlight. Then choose Silverlight Application from the list of Templates. Check the box for Create directory for solution, as the tutorial will include 2 projects. Specify a location to save the project and click OK.
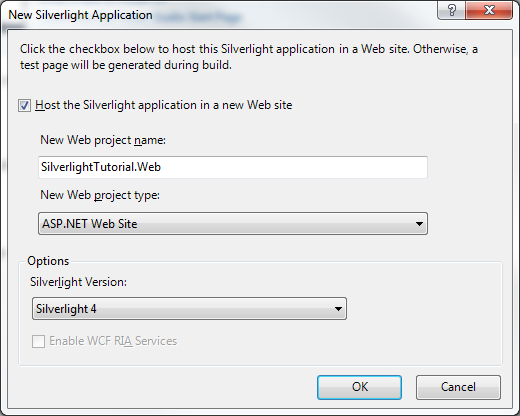
- Choose to 'Host the Silverlight application in a new Web site' and define the New Web project type as an 'ASP.NET Web Site'.
- Next we need to add references to the ImageGear for Silverlight assemblies.
- Right click on References in the Solution Explorer and choose 'Add Reference' from the popup.
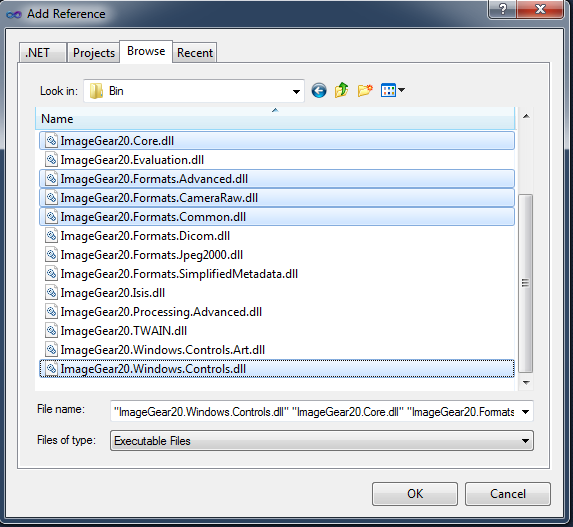
- In the Add Reference dialog, select the browse tab.
- Browse to the Bin sub directory of the ImageGear for Silverlight installation directory and choose the following files:
- ImageGear20.Core.dll
- ImageGear20.Formats.Advanced.dll
- ImageGear20.Formats.CameraRaw.dll
- ImageGear20.Formats.Common.dll
- ImageGear20.Windows.Controls.dll
- Then click OK.