


Once the base of the tutorial application is completed, you can extend it with DICOM support using the following steps:
- First, you need to add a reference to the ImageGear for Silverlight DICOM Assembly.
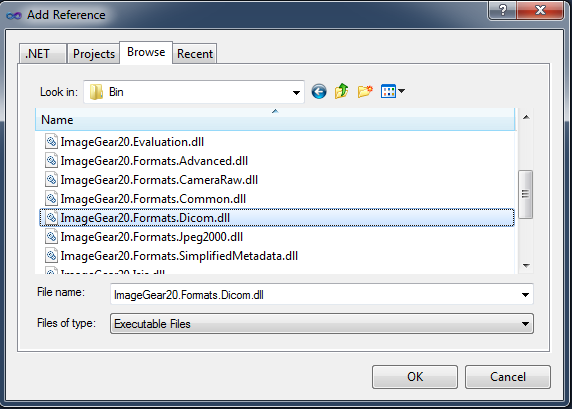
- In the Solution Explorer, right-click on References, and choose Add Reference.
- Choose the Browse tab, navigate to "ImageGear for Silverlight v20\Bin" directory, select ImageGear20.Formats.Dicom.dll, and click OK.
You should now have the ImageGear20.Formats.Dicom assembly listed under References in the Solution Explorer:
-
Next, add the DICOM using statement. Open the code for Page.xaml.cs. At the top of the code add the following statement:
C#  Copy Code
using ImageGear.Formats.DICOM; - To add support for the DICOM Format to the application, add the following statements in the Page constructor after the "Initialize format components" comment:
C# Copy Code// Support for DICOM format ImGearFileFormats.Filters.Insert(0, ImGearDICOM.CreateDICOMFormat()); // Set DICOM DIMSE control value for wide range of DICOM file detection. ImGearFileFormats.Filters.Get(ImGearFormats.DICOM).Parameters.GetByName("LoadDetectSkipDIMSE").Value = true; // Set LoadConcatenateRepeatedDE flag to true by default. ImGearFileFormats.Filters.Get(ImGearFormats.DICOM).Parameters.GetByName("LoadConcatenateRepeatedDE").Value = true;
This will add the DICOM format to the ImageGear formats list. And now you are ready to compile and run the finished application supporting DICOM pages.
- The Application can now support DICOM images. Press CTRL+F5 to compile and run the application.
 |
For an example Presentation State support implementation, please refer to the Silverlight Medical Sample. |