- Open default.aspx in Visual Studio and switch to Design View.
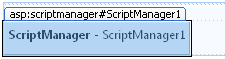
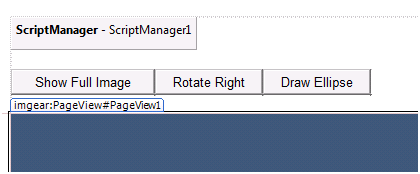
- From the AJAX Extensions section of the Visual Studio Toolbox, drag a ScriptManager onto the form. You can drop it anywhere on the form in Design View; the exact location does not matter.
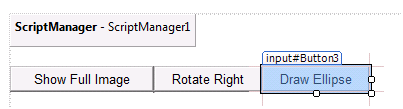
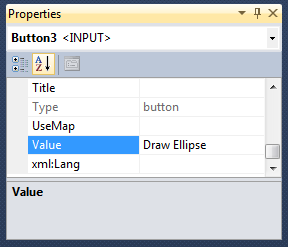
- From the HTML section of the Visual Studio Toolbox, drag three Input (Button) controls onto the form. In the Visual Studio Properties Window, change one's Value property to "Show Full Image", the second Value property to "Rotate Right", and the third button Value property to "Draw Ellipse".
- Drag a PageView control onto the form.
 |
If this were the first page you added to your web site, you would need to also drag an ImageGearBackEnd control onto the form. For this tutorial, you added it to a different page in a previous step, so it is not needed here. |
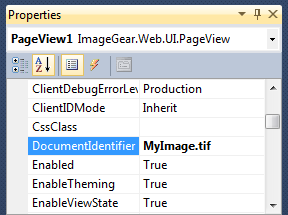
- In the Visual Studio Properties Window, change the PageView control's DocumentIdentifier property to "MyImage.tif". This image can be obtained from the Accusoft sample folder: .\Samples\ASP.NET\CSharp\ASP.NET Tutorial\ASP.NET Tutorial\viewImages. Click on the samples folder that is under the Accusoft folder off the Windows Start icon under All Programs. You could use your own image but then you would need to appropriately modify the code and locate it as explained in the following "Adding Event Handlers" topic.