- Launch Visual Studio and do the following:
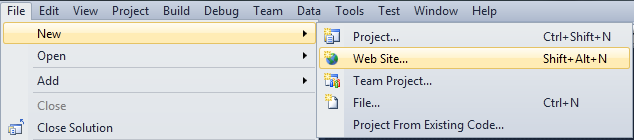
- Choose File > New > Web Site... to create a new web site.
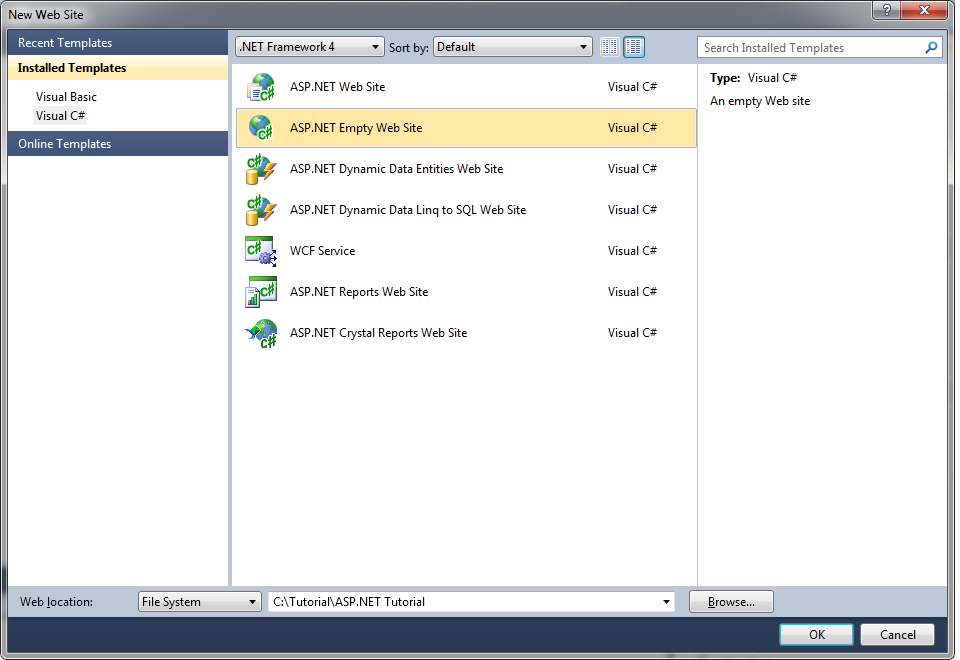
- Set Visual C# for the language.
- Select the ASP.NET Empty Web Site template.
- Set .NET Framework 4.0 as the targeted framework.
- Set File System for the location.
- Name the project "ASP.NET Tutorial" and click OK.
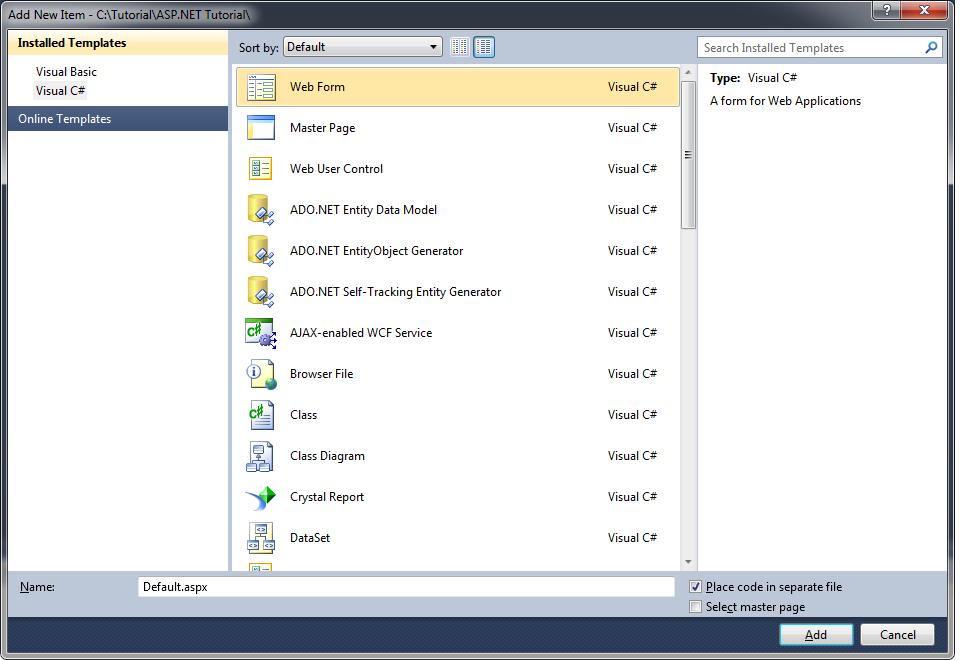
- Go to the Solution Explorer window view and right click on the bold ASP.NET Tutorial location and choose Add New Item. Choose the Web Form item and click the Add button. This will add the Default.aspx (and code behind page Default.aspx.cs if code behind check box is appropriately configured).
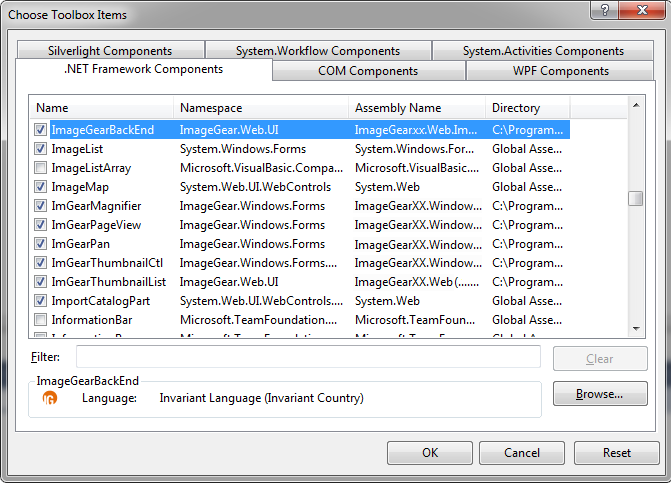
- Go to the Visual Studio Toolbox and right-click in it.
- Select Choose Items... from the popup menu.
- In the .NET Framework Components tab, click the Browse button.
- Navigate to "ImageGear.NET v21\Bin" in the folder into which you installed ImageGear for .NET.
- Select ImageGear21.Web.dll and click Open.
- Repeat the process to add ImageGear21.Web.ImageDataProcessor.dll.
- You will see the PageView, ThumbnailView, ImGearThumbnailList and ImageGearBackEnd controls added to the list of components. Make sure they are checked and click OK. You only need to do this configuration once; in the future, you can skip this step.