- Launch Visual Studio .NET and do the following:
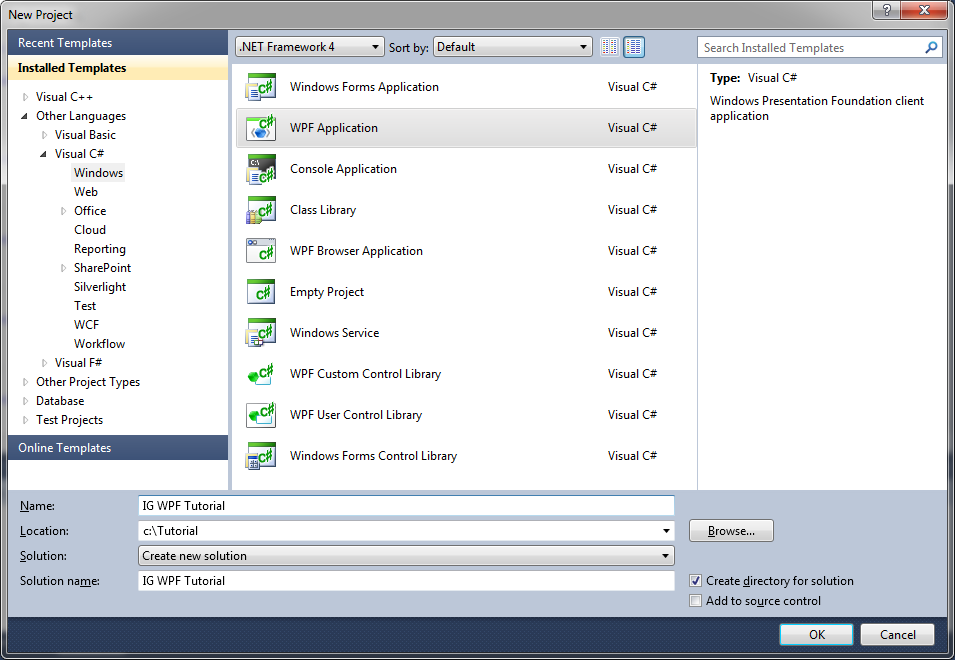
- Choose to start a new project.
- Select Visual C#.
- Select Windows as the project type.
- Select WPF Application as the template.
- Name the project "IG WPF Tutorial" and click OK.
- Next, add some Framework components.
- In the Solution Explorer, right-click on References and choose Add Reference.
- Choose the .NET tab.
- Select System.Windows.Forms and click OK. You should now see it listed under References in the Solution Explorer.
- Next, add references to the core ImageGear for .NET Assemblies required for this project and the assembly encapsulating some of the more commonly used Formats.
- In the Solution Explorer, right-click on References and choose Add Reference.
- Choose the Browse tab.
- Navigate to the "ImageGear for .NET v21\Bin" directory and select the following:
- ImageGear21.Core.dll
- ImageGear21.Formats.Common.dll
- ImageGear21.Presentation.dll
- ImageGear21.Windows.Controls
- ImageGear21.Windows.Forms
- ImageGear21.Wpf.dll
- Click OK.
You should now have the assemblies listed under References in the Solution Explorer.