- First start Visual Studio .NET 2008.
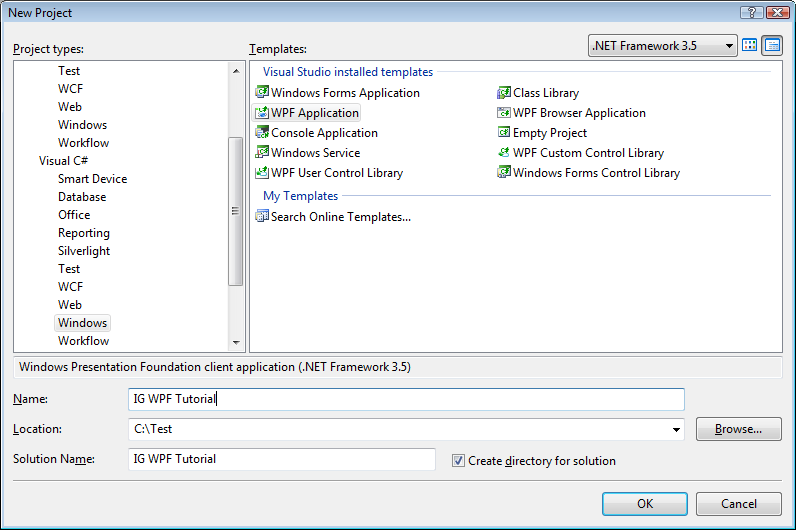
- Choose to start a new project and select Visual C#, then Windows as the project type, and WPF Application as the template. The project name for this tutorial will be "IG WPF Tutorial". Click OK after entering in the project name.
- Next, add some Framework components.
- In the Solution Explorer, right-click on References and click Add Reference.
- Choose the .NET tab, select System.Windows.Forms, and click OK. You should now see it listed under References in the Solution Explorer.
- Next, add references to the core ImageGear for .NET Assemblies required for this project and the assembly encapsulating some of the more commonly used Formats.
- In the Solution Explorer, right-click on References and choose Add Reference.
- Choose the Browse tab.
- Navigate to the "ImageGear for .NET v21\Bin" directory and select the following:
- ImageGear21.Core.dll
- ImageGear21.Formats.Common.dll
- ImageGear21.Presentation.dll
- ImageGear21.Windows.Controls
- ImageGear21.Windows.Forms
- ImageGear21.Wpf.dll
-
Click OK.
You should now have the assemblies listed under References in the Solution Explorer.