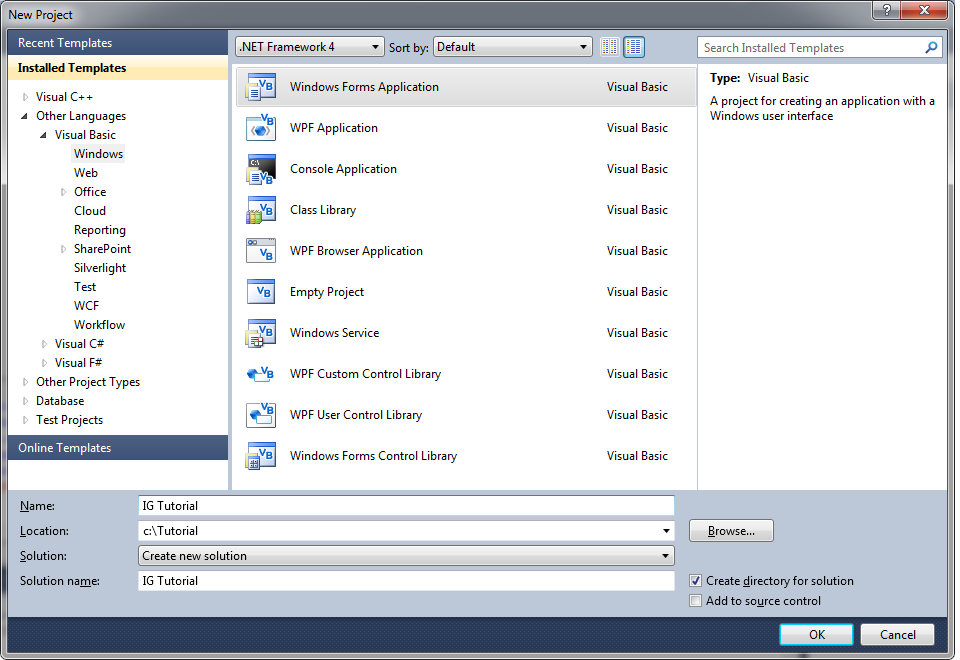
- Launch Visual Studio .NET and do the following:
- Choose to start a new project.
- Select Visual Basic.
- Select Windows as the Project Type.
- Select Windows Forms Application as the template.
- Name the project "IG Tutorial" and click OK.
- Next, go to the Windows Forms toolbox and right-click in it.
- Select Choose Items... from the popup menu.
- In the .NET Framework Components tab, click the Browse button.
- Navigate to "ImageGear for .NET v21\Bin" and select ImageGear21.Windows.Forms.dll, then click Open.
- You will see the Magnifier, PageView, Pan, and ThumbnailCtl controls added to the list of components. Make sure they are checked and click OK.

- Next, add references to the core ImageGear for .NET Assemblies required for this project and the assembly encapsulating some of the more commonly used Formats.
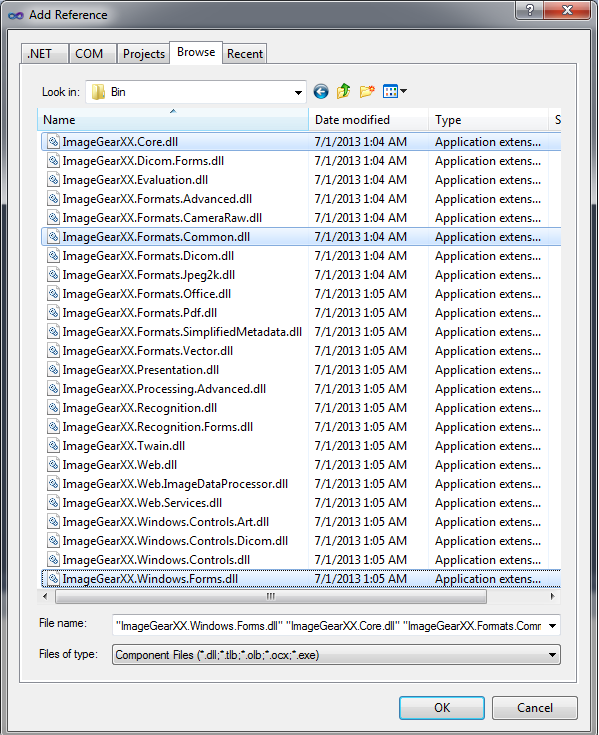
- In the Solution Explorer, right-click on References and choose Add Reference.
- Choose the Browse tab.
- Navigate to the "ImageGear for .NET v21\Bin" directory and select the following:
- ImageGear21.Core.dll
- ImageGear21.Formats.Common.dll
- ImageGear21.Windows.Forms.dll
- Click OK. You should now have the assemblies listed under References in the Solution Explorer.