Prizm Content Connect
php
Figure 1: Application Overview of the default PHP sample setup

Before integrating with your application environment, a helpful first step is to install one of the provided samples. With a working sample, you will have a proof-of-concept that demonstrates the functionality of the Prizm Services working together with your web server. To get started with setting up a sample, refer to How to Configure php Samples.
Once installed, the sample will load in the following manner (refer to Figure 1):
Figure 2: PHP Sample Directory Structure
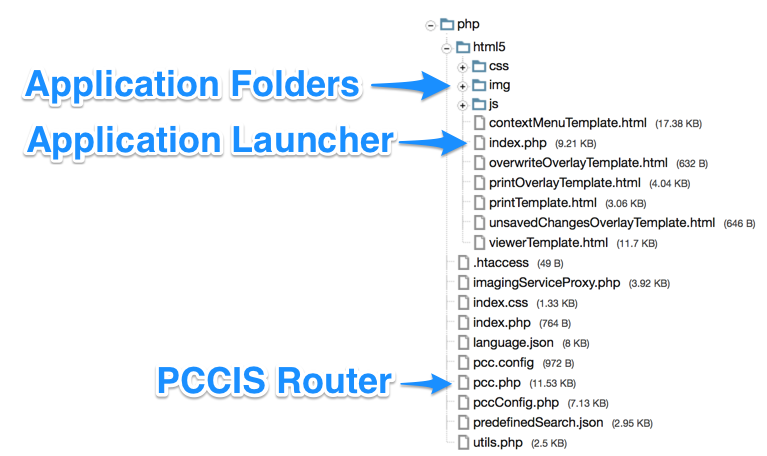
As delineated in Figure 1, the Viewer loads like most modern web applications: a server script is called, which then presents an HTML page to the browser. The browser loads the linked JavaScript and CSS files, which triggers the front-end web application to initiate. Because the technologies are standard web ones, you can take the js, img, and css folders provided by the sample and plug them in to your existing web platform. The sample places the JavaScript and CSS folders at the same directory level as the application launching index.php. However, the location of these resources can be changed by following the directions in Using a Custom Resource Path.
Also, for details on embedding the Viewer on existing pages, see Embedding the Viewer.
An important point to make is that while the web server and Prizm Services can be installed on the same machine, they do not have to be. Because the web server communicates with the Prizm Services over RESTful network calls, Prizm Services can be located anywhere that the web server can reach it via that URL. In the sample, the URL is defined in the pcc.config file with several parameters prefixed with WebService:
Figure 3: Excerpt from pcc.config
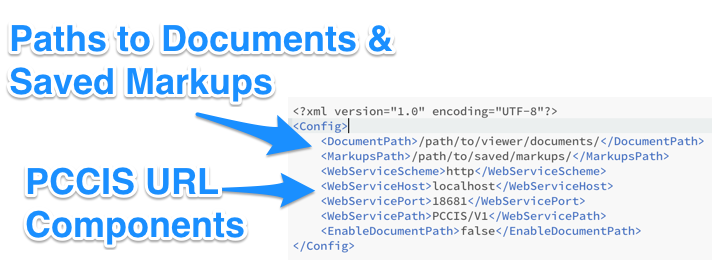
Also in that file are two important parameters that define the document location (DocumentPath) and the saved markup record location (MarkupsPath). As implemented in the PHP sample, the document path is the directory on the web server that holds the original document in its native format. In addition, the Viewer allows annotations to be saved and loaded again at a later time. That location of the saved annotation records is defined by the MarkupsPath parameter in the pcc.config file. It's highly likely that these two parameters will need to be updated for your server environment, thus they should always be reviewed after installing the sample. Loading a document from the file system into Prizm Services is just one approach. As an example, the document could alternatively originate from a database or URL. However, to keep the sample straightforward, the original document resides on the local file system.
Another important file is pcc.php. This acts as a router between the front end Viewer and the Prizm Services. So pcc.php must be able to receive and respond to requests from the Viewer. The sample places pcc.php one directory above the application launching index.php and informs the Viewer of its location via the imageHandlerUrl parameter in index.php:
Figure 4: Example of imageHandlerUrl in plugin options

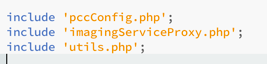
So, you can easily change the location of pcc.php and then adjust the imageHandlerUrl parameter to match. Just be aware that pcc.php works together with pccConfig.php, imagingServiceProxy.php, and utils.php. Those files will either need to be moved with pcc.php or to have the 'include' statements inside pcc.php updated with their paths:
Figure 5: Include statements from pcc.php