To create the interface, start Visual Studio 2008. The Visual Studio 2008 environment will appear.
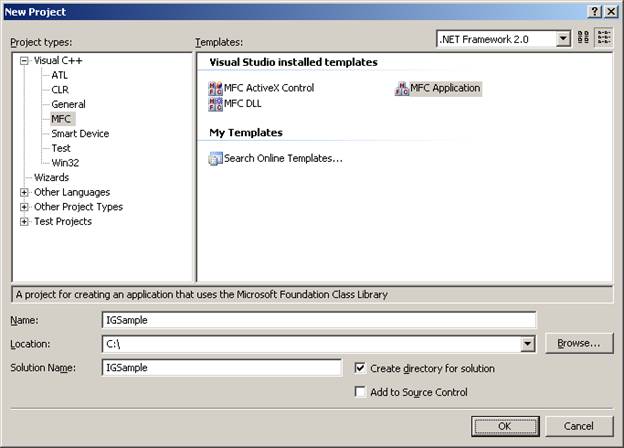
- Create a new MFC Application project. For this tutorial, the Project name will be called "IGSample". Click OK after entering this Project name.
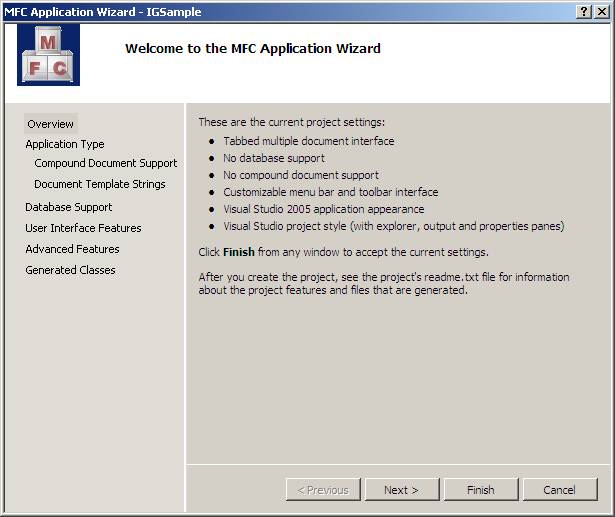
- The MFC Application Wizard dialog will appear. Click Next to proceed.
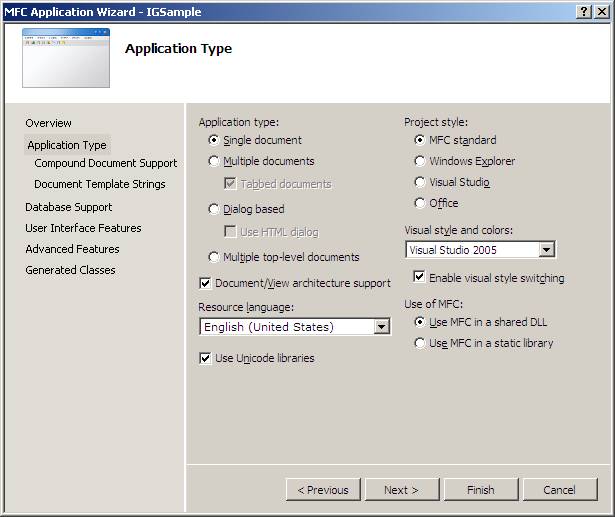
- On the Application Type dialog, choose the Single document option to create a Single Document Interface (SDI) application. Select MFC standard as the Project style. Click Next.
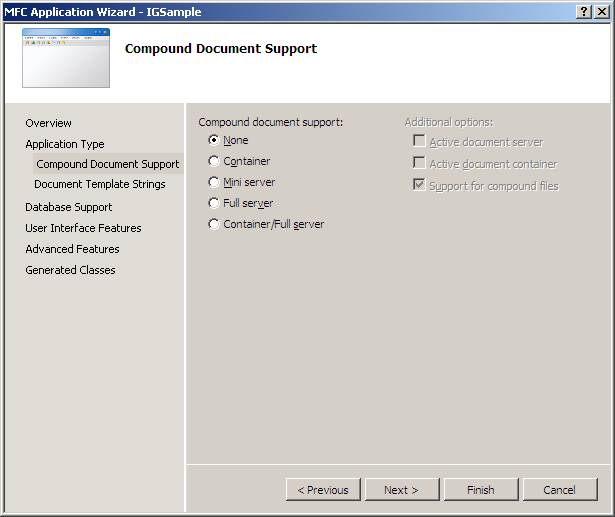
- On the Compound Document Support dialog, select None and click Next.
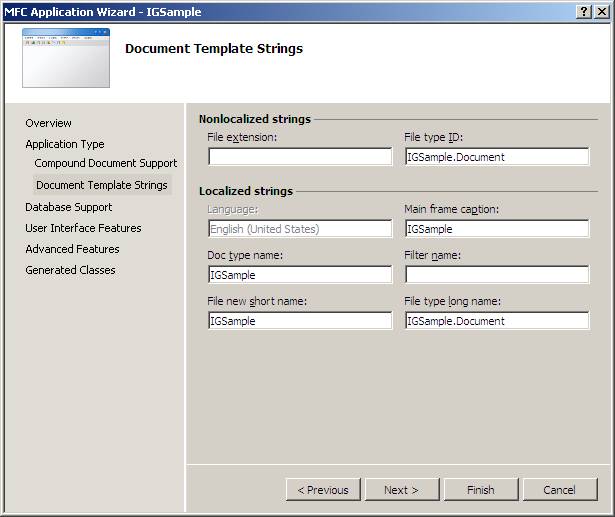
- Click Next to pass the Document Template Strings dialog.
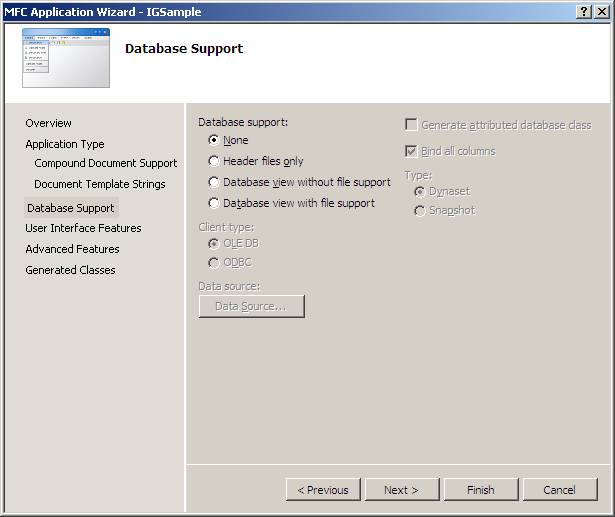
- In the Database Support dialog, select None and click Next.
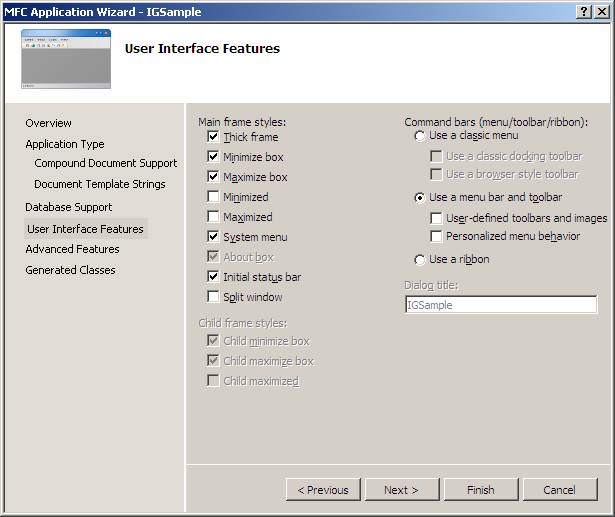
- In the User Interface Features dialog, under the "Use a menu bar and toolbar” section, uncheck both of the boxes and click Finish.
- Once the project is created, you should set up the compiler to use ImageGear. To do this:
- Select the project, go to the Project menu, and select Properties.
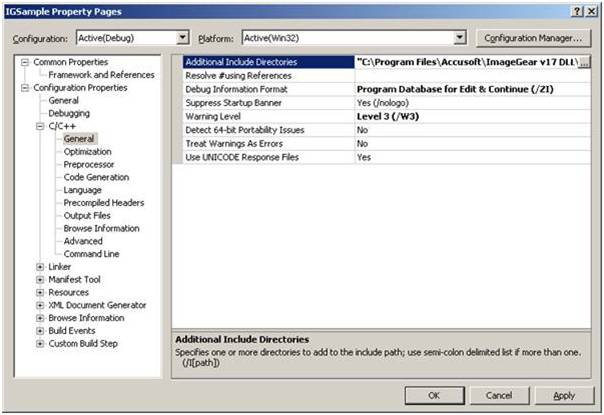
- Under the Configuration Properties section in the left panel, select C/C++.
- Under this portion, choose General.
- In the right panel, add the path where you installed ImageGear into the field “Additional Include Directories”. For example, if you installed ImageGear to the path "C:\Program Files\Accusoft\ImageGear v18 DLL", then you will add the “include” directory in this path to the field ("C:\Program Files\Accusoft\ImageGear v18 DLL\Professional\DLL\Include").
- Next select the Linker/General option in the left panel, and add a link to the ImageGear library folder (For example: "C:\Program Files\Accusoft\ImageGear v18 DLL\Professional\DLL\Lib") in the Additional Library Directories field.
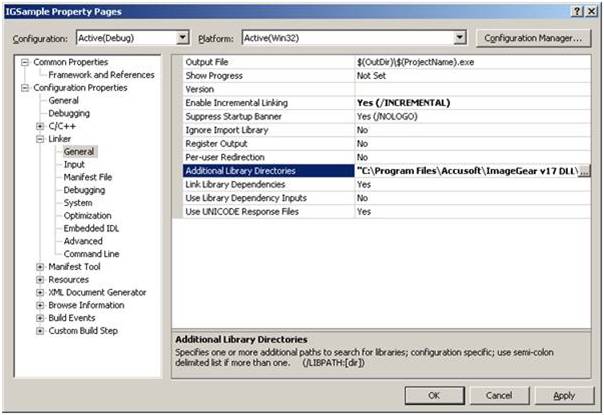
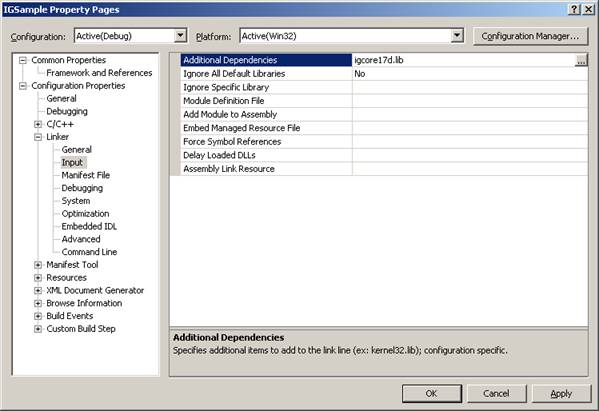
- Then select the Linker/Input option in the left panel, and add the name of ImageGear library file (igcore18d.lib) to the Additional Dependencies field in the right panel. Once you have done this, click OK.