
ImageGear .NET
Running the Deployment Packaging Wizard
| User Guide > Licensing and Distributing > Deploying Your Product > Running the Deployment Packaging Wizard |
To package the required ImageGear Runtime components, do the following:
In the ImageGear Run-Time Components form, select the type of ImageGear runtime components you would like to generate, then select the components you would like to include into the installation package for your application. Click Next to continue.

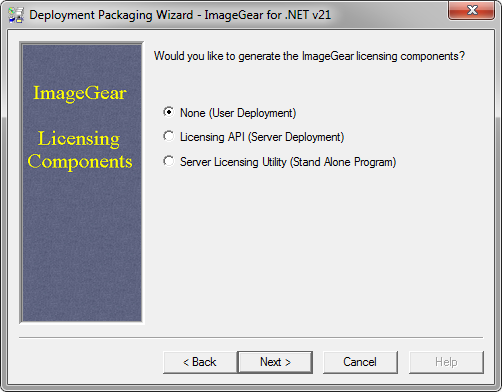
In the ImageGear Licensing Components form, check whether you want to generate the ImageGear licensing components, add the Server Licensing Utility (SLU), or to have no licensing (default for User). Click the Next button to continue.
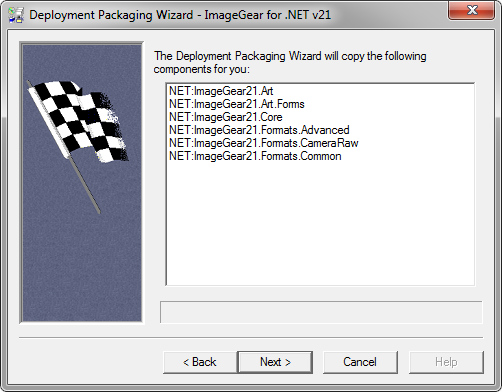
Finally, you can see a list of all the selected components that will be generated for your deployment. If this looks correct, click the Finish button to complete the Deployment Packaging process.
Once the Deployment Packaging process is finished, the Deployment Packaging Wizard reports its successful completion.
Now you can take the files that the Deployment Packaging Wizard created for you and include them into the installation package along with your application.